During the pandemic, my family decided that it was finally time to replace several sheds that had fallen into various states of repair on our property. As I was missing out on the hands-on nature of my mechanical engineering coursework at the time, I asked my parents if I could secure some space in one of them to use as a workshop. Every workshop needs a good workbench, but when space is limited, it's important to make the most of it. This workbench was designed to do exactly that.
The main design factors for this workbench were for it to be economic, compact, versatile, and modular. I wanted plenty of usable desk space, while keeping a table-saw set up and ready to use full time. I researched dozens of workbench designs before settling on my own, a hybrid between several which combined the exact mix of features I was looking for.
I designed this bench to use spare wood we had lying around the house, which was previously was part of a swing set I used to play on as a child. I came up with a design that would allow me to easily switch between various power tools I might want to use: a miter saw, grinder, router table, etc. I came up with the following design, and got to work:

I began cutting all of the wooden segments to the appropriate length and assembling them together with 1x4 wooden boards:

Note that one leg is significantly shorter than the others. This is so that I could install a table-saw flush with the workbench's surface, effectively extending my workable area.
Once I had the frame put together, I needed to put some wheels on this thing before it got too heavy.

Note that there are four wheels on the workbench, but eight vertical support beams. The central four beams have static rubber feet, which can be lowered manually if you need increased rigidity for a given project. In practice, however, I do not typically need to use these rubber feet, as the wheels are rigid enough for most work that I do when they are in their locked position. Next, I began installing the tabletops. I used 3/4" medium density fiberboard (MDF) to create an inexpensive, smooth surface which I could easily replace as it wears out:

Finally, I installed the remainder of the tabletop and fit the tablesaw in place:
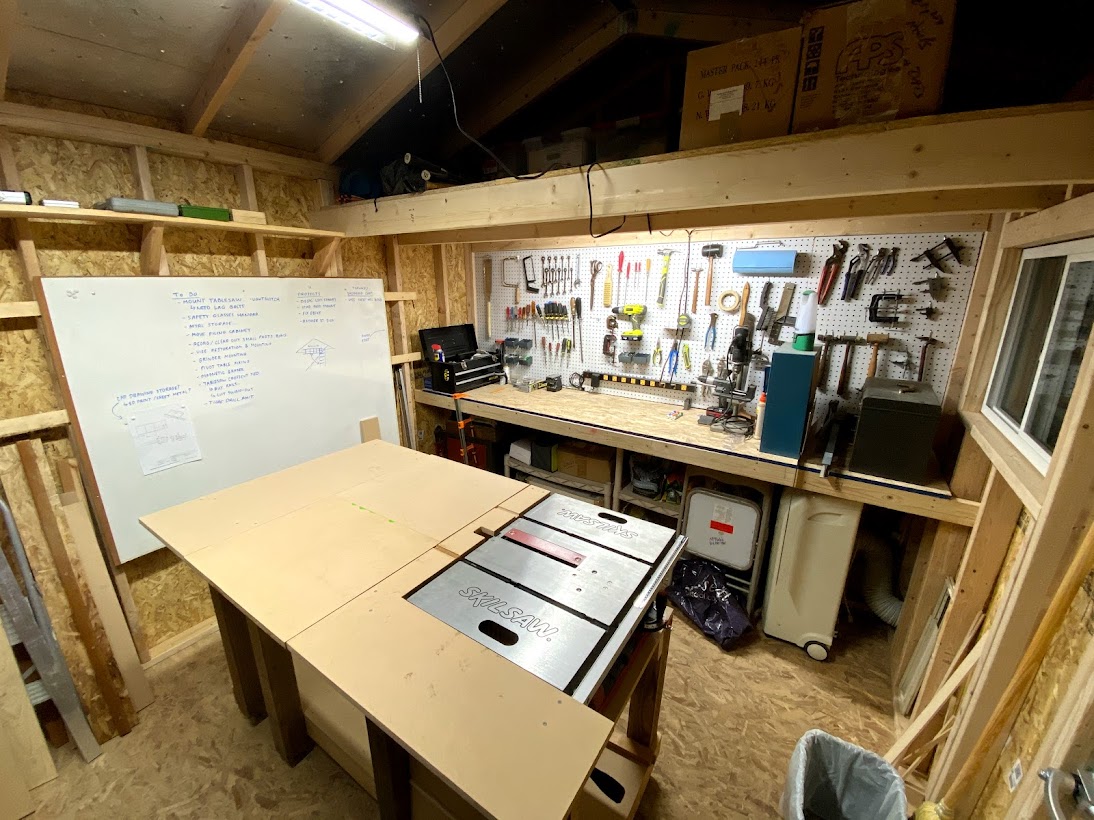
Finally, I had a complete workbench! I used this bench for the next few months (from Nov. '20 through May '21), and it appeared in many of my videos! It has performed exactly as I intended, and I am satisfied with the final design. There are several changes I would propose if I were to do this again. Firstly, I would use a thicker material for the tabletop. The 3/4" MDF is decently thick, and supports enough weight for most applications, but a more substantial tabletop would allow me to mount a heavier vice to the tabletop. I would additionally install shelves between the vertical supports, increasing storage space and tidying up the appearance.